A Vinyl Flooring Install that dramatically changes a Laundry Room Makeover.
I am glad I finally got the chance to set some time aside to start my laundry room makeover. Even though its a really small room, I really wanted to transform the room, so I decided to install this vinyl flooring, that was a good price and easy to install.
This post is sponsored by the Home Depot as a part of The Home Depot's Pro-Spective Campaign.
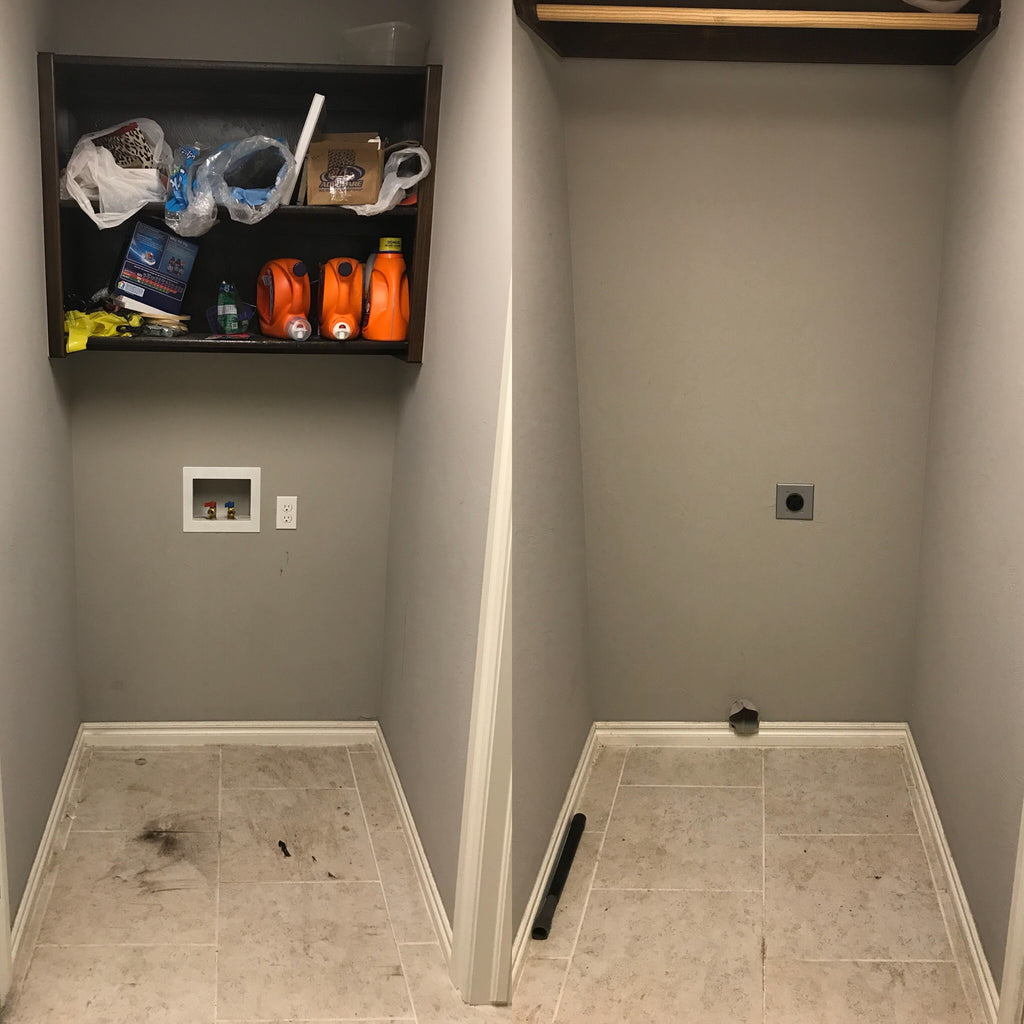
The original floors in my laundry room were builder grade tile floors. They match the tiles in the kitchen and after three years of looking at them, I was definitely ready for a change.
There are some affiliate links in this post, meaning I get a small commission if you purchase through these links, at no cost to you. Click Here to read my full disclosure.
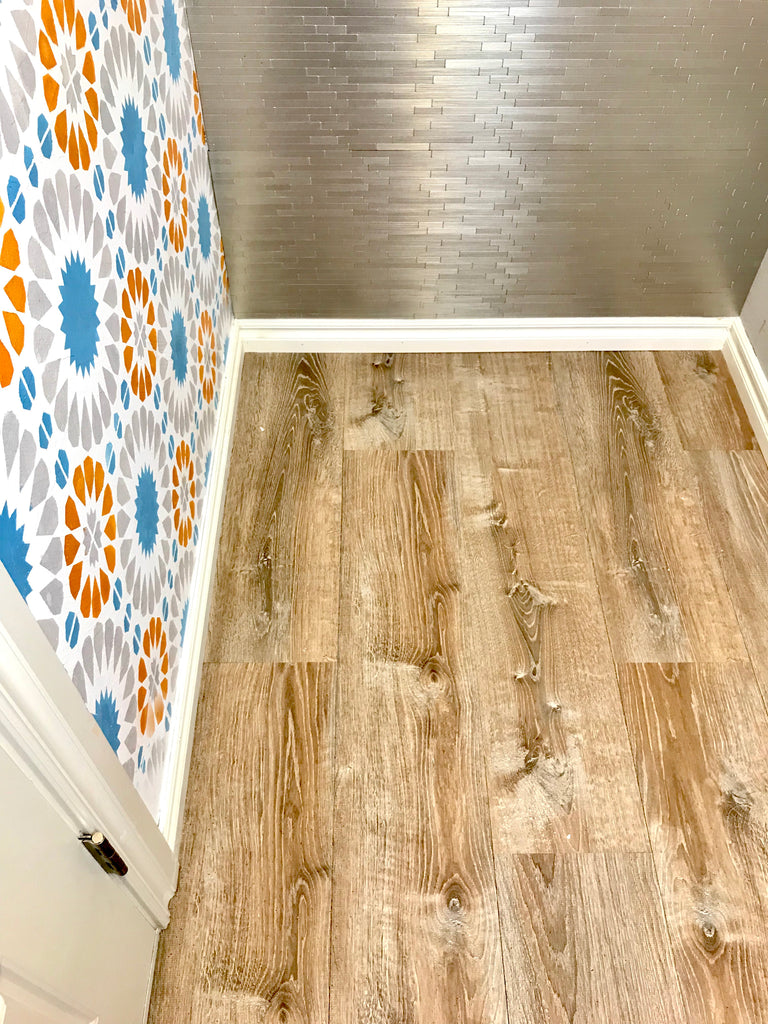
I wanted to choose something that would be easy to install and also easy to remove if I ever wanted to change the flooring again so I decided on the Lifeproof Woodacres Oak Vinyl Flooring. I used two full boxes which brought my price to around $100, which in my opinion was a steal. This vinyl flooring totally changed the look of my laundry room.
Check out this vinyl flooring installation video below to see how I installed the flooring and then read on for more details on the install.
Removing Baseboards
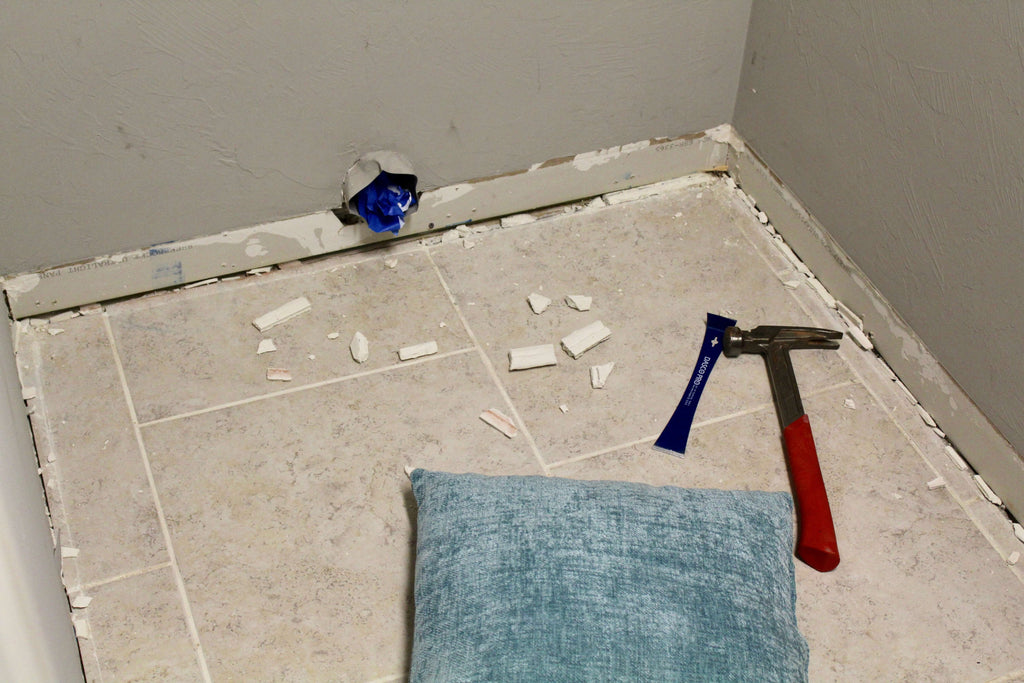
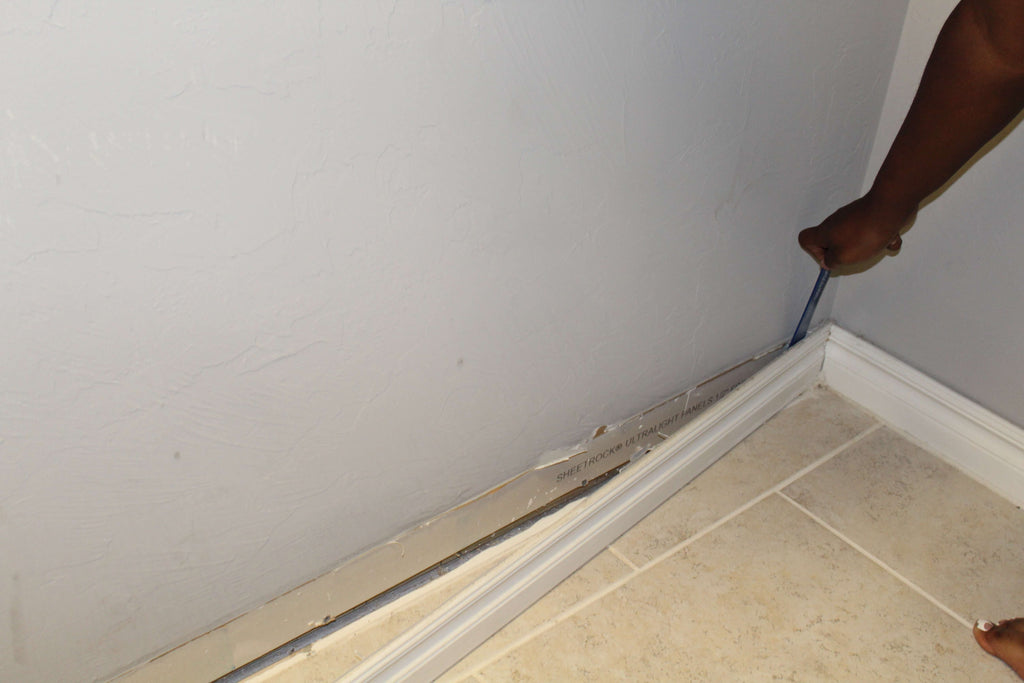
The first thing I did to get the vinyl floor installation going was removing the baseboards. This was a pretty easy thing to do with the help of a hammer, crowbar and utility knife.
First, I used my Husky Utility Knife to cut the seam above the baseboard. This made it easier to get the crowbar down behind the baseboards to remove it from the wall. This particular utility knife is lightweight and durable for strength and has an ergonomic, textured handle that provides non-slip usage and feels comfortable in the hand. These knifes actually come in a 3-pack which for me is what I need because I'll be sure to misplace it at least a few times while using it. I know I'm not alone!
Then using my crowbar and hammer, I gently starting prying the trim moulding from the wall. Be careful while pulling the trim out if you plan on re-using the baseboard.
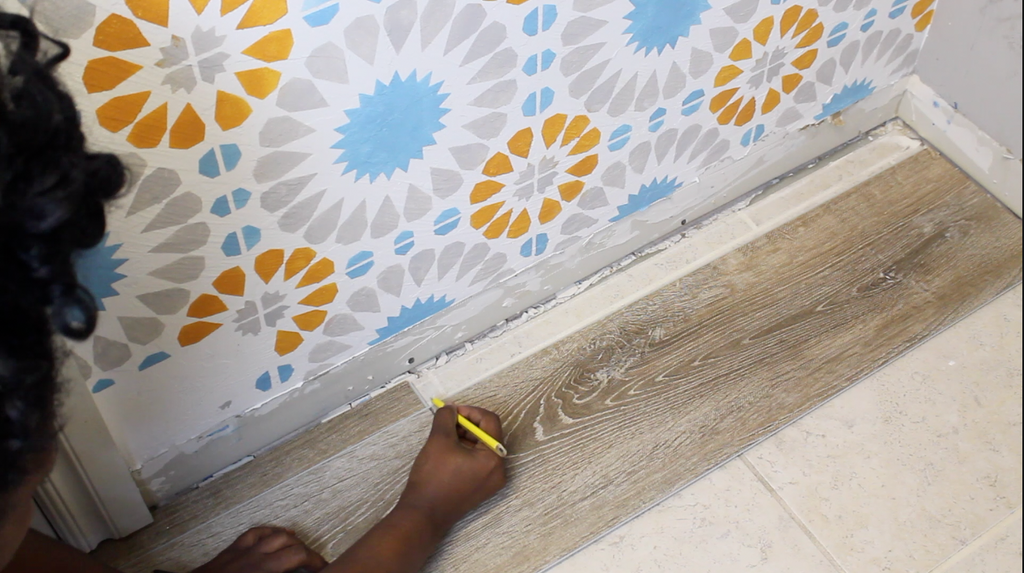
Cutting the Door Casing
In order for the vinyl flooring to sit but up against the wall and be flush with the existing tile floor, I needed to cut the door casings off. To make sure I cut off enough of the door casing, I first laid down a piece of the vinyl flooring and marked where I should cut.
Once my markings were made, I utilized my Dremel MultiMax Oscillating Tool to cut the casings. This was a very simple step in the process. I know it may seem scary to cut into your door casings, but with this Dremel it really was a piece of cake.
Cleaning The Floor
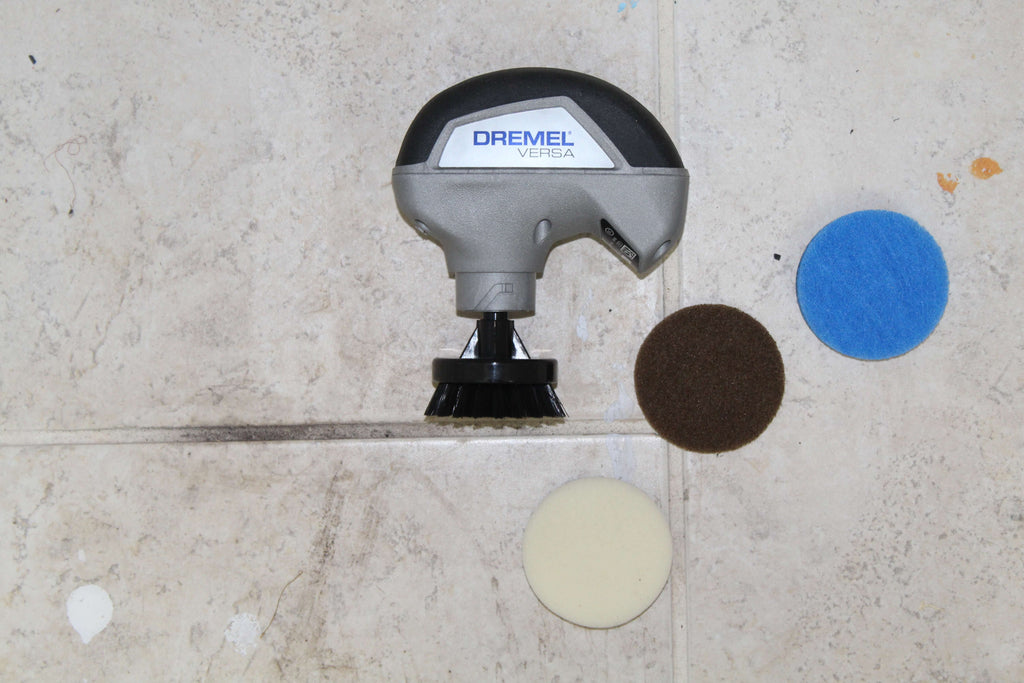
Although I am covering the tile flooring with the new vinyl flooring, I still wanted to clean up the tile before covering it up; just in case I ever want to remove the flooring. Before mopping the floor, I used my Ryobi Stick Vac to pick up all of the dirt and debris. To clean up all of the big dirt spots on the floor, I used my Dremel Versa Power Cleaner and I was really impressed with how it works. When cleaning my floors I always have spots that are hard to clean up so this little tool definitely came in handy.
Right now the Dremel Versa Power Cleaner is the fastest cleaning tool and holds a charge for a while. I love that this cleaner is cordless, so I'm not bogged down by the cord. Be sure to check out the video above to see it in action. It does come with four accessory pads for wet and dry cleaning and they are really easy to change out. The attachment pieces are $10 a piece which can get pricey but I think the Dremel Versa Cleaner is worth it. Im hoping Dremel will have a change of heart and drop the price of those attachments. (hint, hint)
Installing Vinyl Flooring
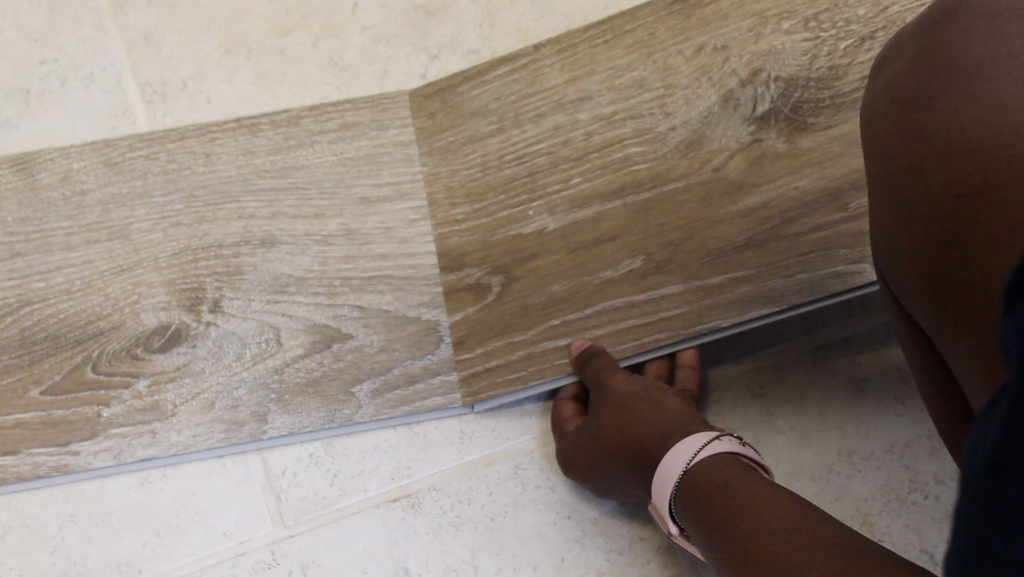
I chose this LifeProof Vinyl Flooring because it is referred to as "floating flooring," meaning it doesn't have to be nailed or glued to the subfloor. This would be perfect for someone who doesn't want to mess up their existing floor.
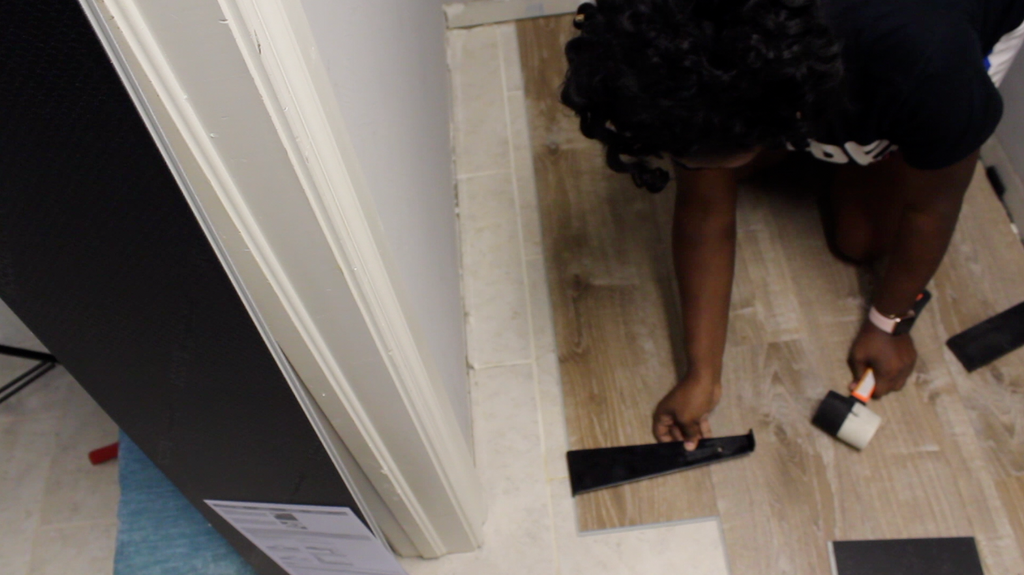
Installing this vinyl flooring was fairly easy. This is the part in the process where you will need your spacers and L bar. This Lifeproof has a snap in feature that makes it really simple to assemble together. To get the flooring started, I snapped in two long pieces together and then measured the space for the last piece for the perfect fit.
I used my Ridgid Miter saw to cut the flooring for the perfect fit. I was originally concerned that the Miter saw would splint the flooring but the cuts were pretty clean. Either a miter saw or bandsaw would work great for those cuts.
Although the flooring snaps in place, you still need to hit it a bit to make sure its snug into place, so I used a Flooring Pull Bar to reduce the seams .
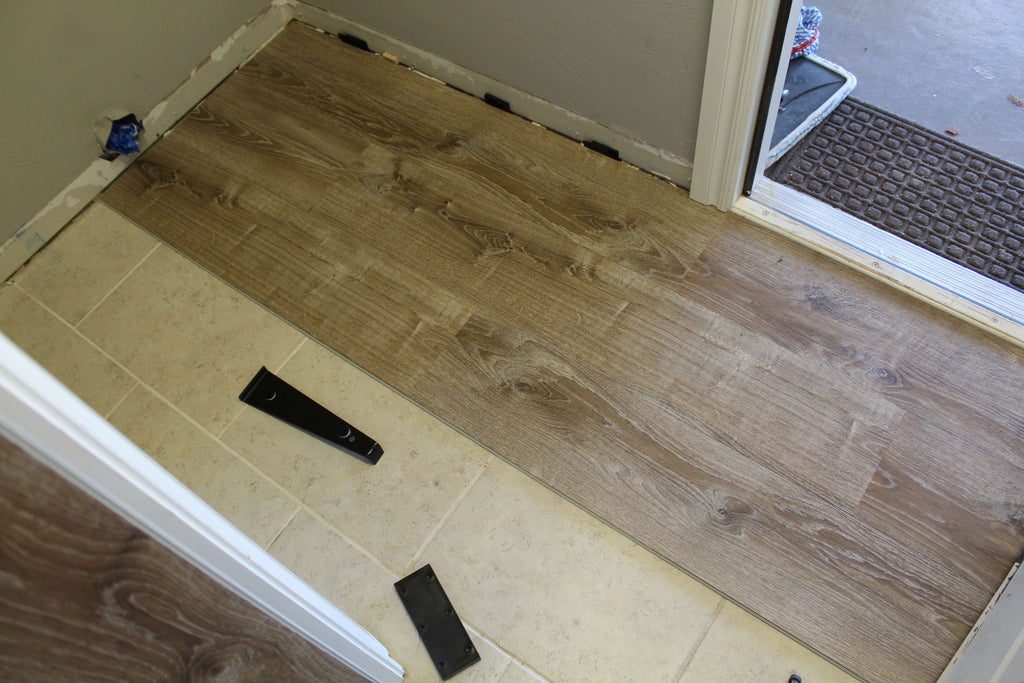
It really came in handy when I got to the boards closest to the outer wall.
When I got to the wall, I had to cut a groove into the board to fit around the wall. These cuts were easier to cut on a bandsaw. The flooring pull bar made it easy to close up the seams even right up against the wall.
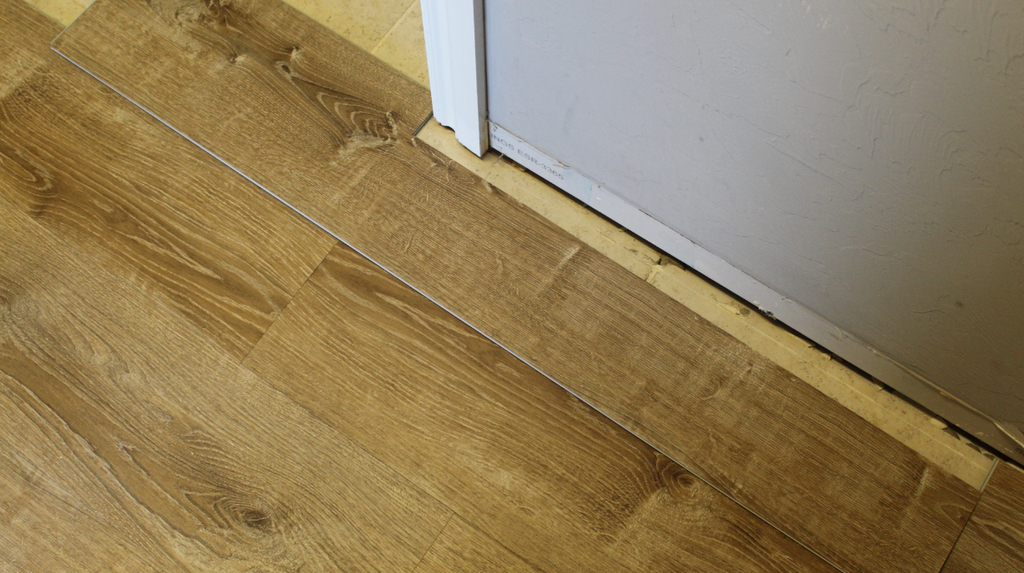
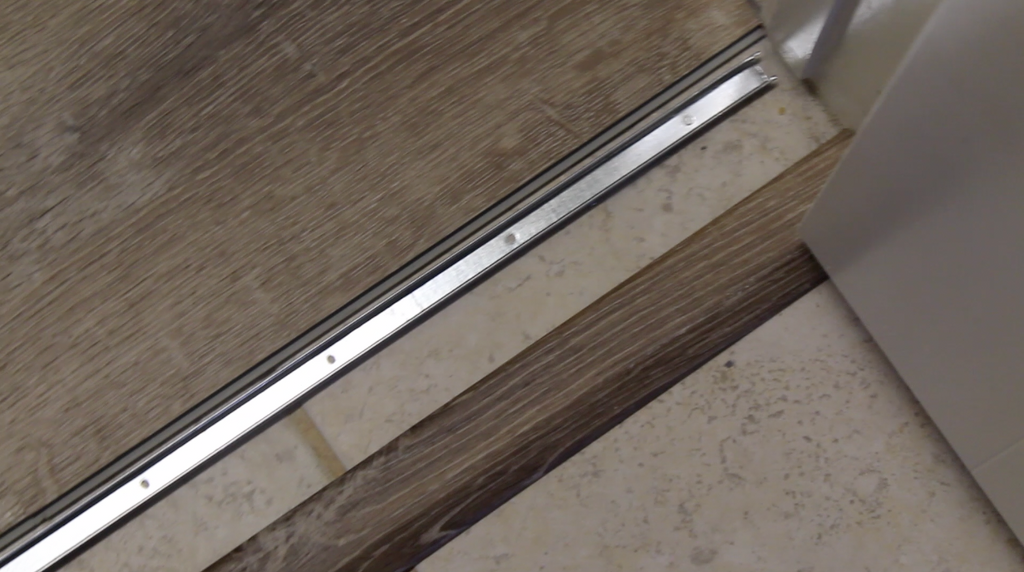
When I got to the end of the flooring I used the Vinyl Reducer Moulding. Its basically an end piece for the flooring. The metal piece gets attached to the floor with screws and then the cap piece snaps on the metal.
Overall, installing the floor took me about an hour and a half. For $100 it totally transformed the look of the room and didn't take much effort. I would recommend it to anyone trying to make a drastic change under a budget. I am absolutely in love with my new floor!
I acknowledge that the Home Depot is partnering with me to participate in the The Home Depot Pro-Spective Campaign. As a part of the program, I am receiving compensation in the form of products and services, for the purposes of promoting The Home Depot. All expressed opinions and experiences are my own. My post complies with the Word of Mouth Marketing Association (WOMMA) Ethics Code and applicable Federal Trade Commission guidelines.

 There are some affiliate links in this post, meaning I get a small commission if you purchase through these links, at no cost to you. Click Here to read my full disclosure.