
Projects

DIY Barn Door Coffee Bar Center
A DIY Barn Door Coffee Bar never looked so good!
I've seen many DIY coffee bars but I wanted to switch things up a bit. A coffee bar with barn doors was the perfect idea. I have been dying to build some furniture with sliding barn doors and I'm so glad it was a SUCCESS. Even better, I have partnered up with my friends over at RYOBI Nation to give you the step by step tutorial. But first lets drool over this DIY barn door coffee bar.
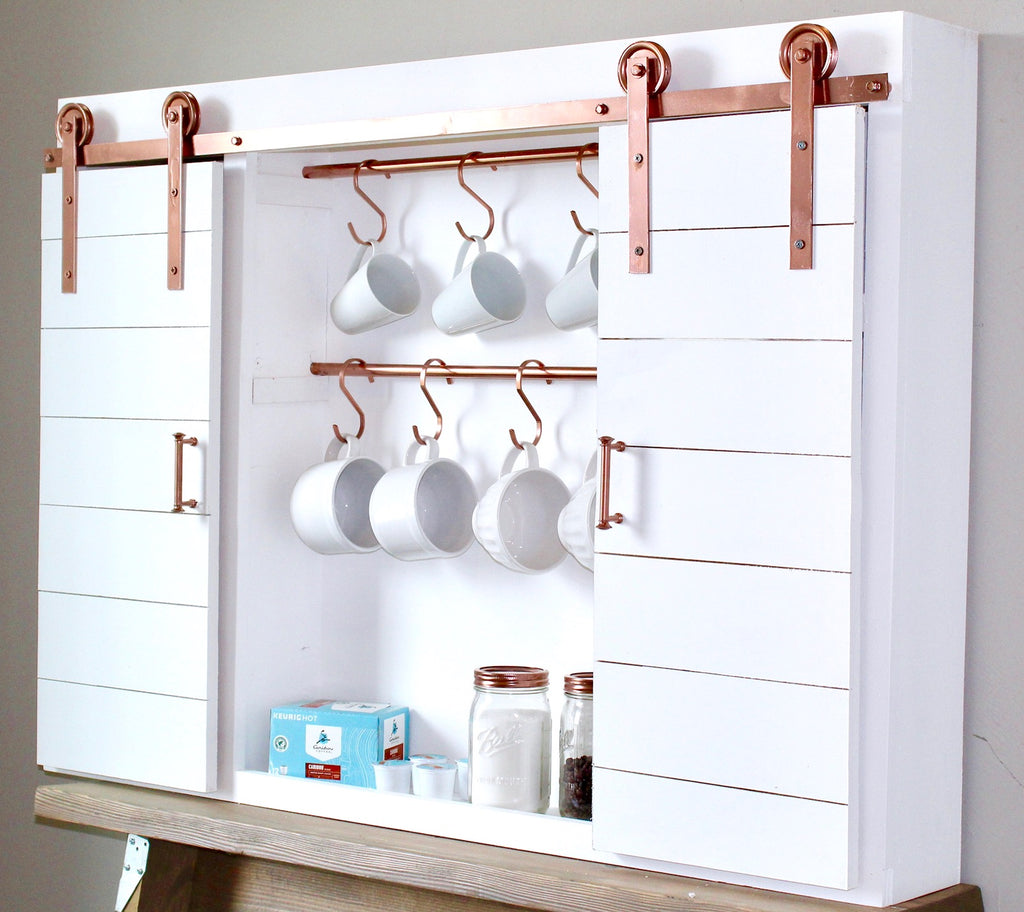
I was trying to come up with some different DIY coffee bar ideas and I must say my favorite part about this build is HANDS DOWN the metallic finish on the barn door hardware. I haven't seen hardware that comes in this finish, so I decided to create my own!
There are some affiliate links in this post, meaning I get a small commission if you purchase through these links, at no cost to you. Click Here to read my full disclosure.
 I used Rust-Oleum Copper
 and man does this hardware Shine. The copper pipes and the door pulls just brings it all together. But lets talk about this Rust-Oleum Comfort Grip
by RustOleum. Makes spray painting so much easier. Pops right on in seconds!

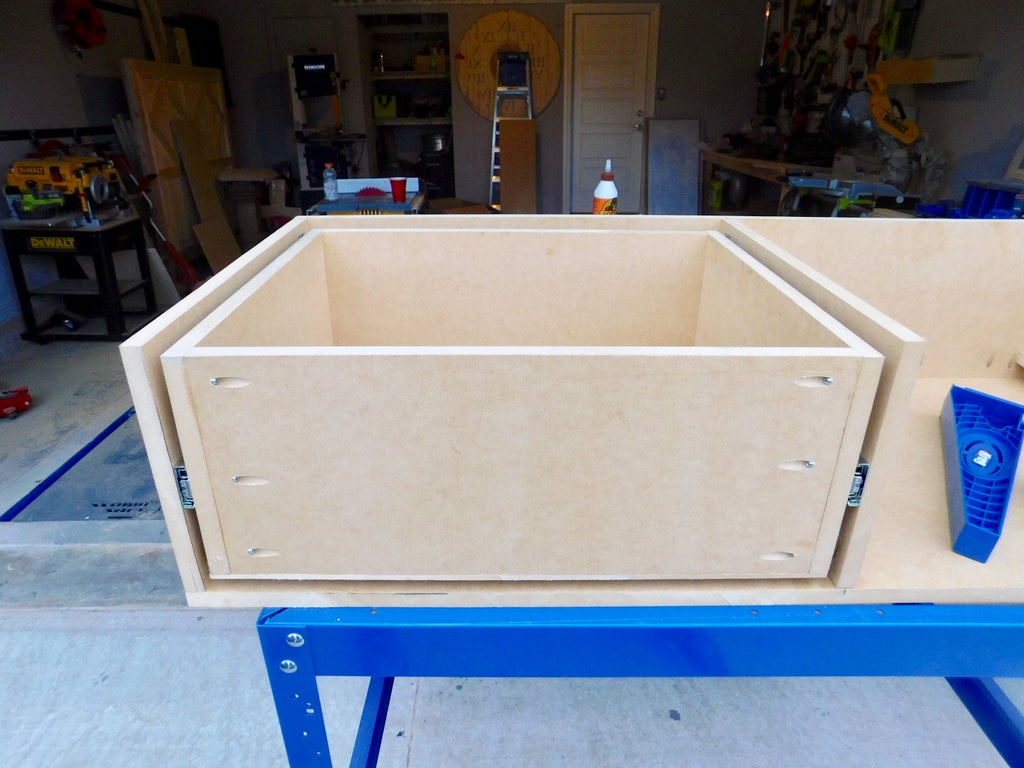
More and more I'm learning that I love hidden storage..and this diy barn door coffee bar center was no different! Behind the barn doors is plenty of storage room for all of my coffee supplies that I don't want everyone to necessarily see! I love making unique pieces for my home and this really makes my kitchen worth talking about!
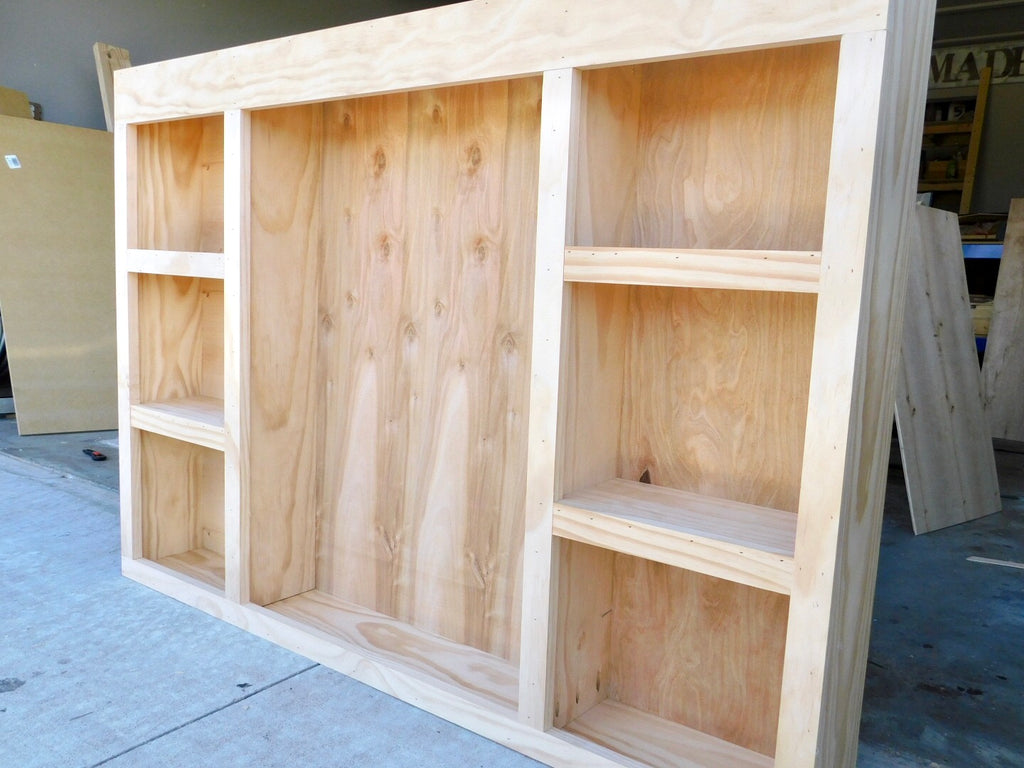
Just a little inside scoop. I always use select pine from Home Depot when using pine wood. It's a little more expensive than regular pine but its so much better to work with and makes my builds a lot cleaner. I always have a struggle with wanting to paint or stain my furniture after I finish building it. It just looks so pretty the way it is.
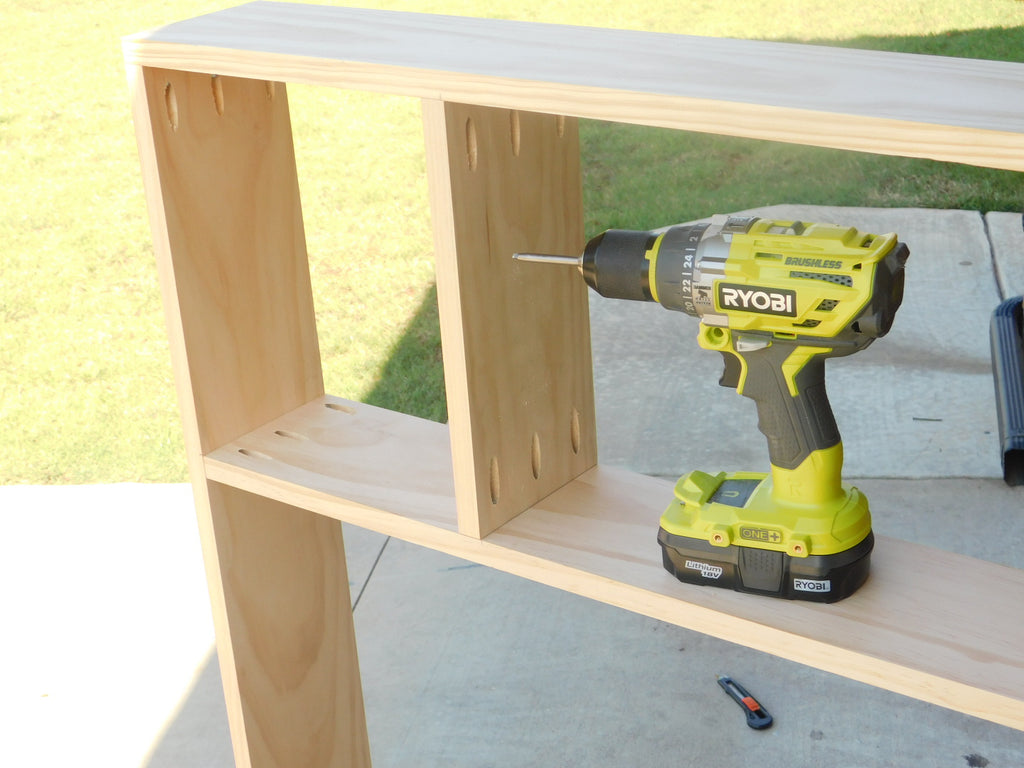
No build of mine happens without my beloved Kreg Jig K4 Pocket Hole System, but one of my other favorite tools is Ryobi's Hammer Drill. There aren't too many Ryobi tools I haven't tried and their hammer drill is definitely in my top 5. Check out my full tool review on the Ryobi 18V Hammer Drill here. These tools really brought this build together. Let's take one last look!

Now head on over to RYOBI NATION for the full tutorial for this DIY coffee bar! But one more thing before you go!
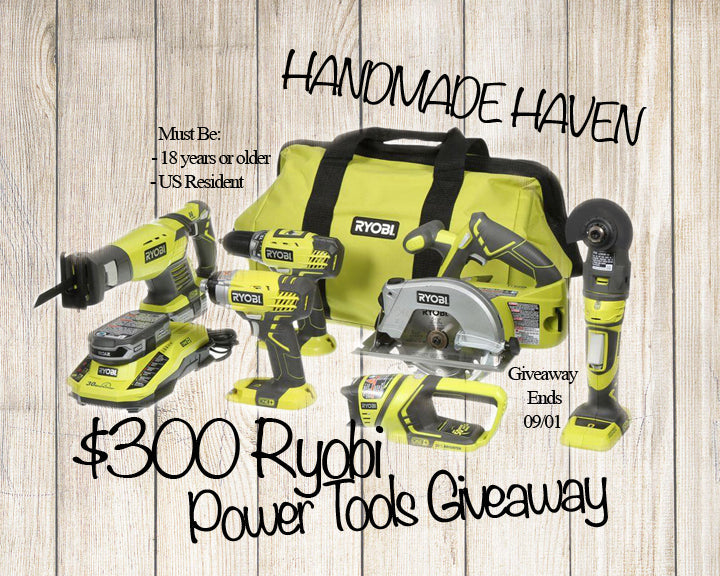
a Rafflecopter giveaway
*This post and giveaway is sponsored by Ryobi Power Tools. I have received product and compensation for this post but all opinions, thoughts and designs are my own.

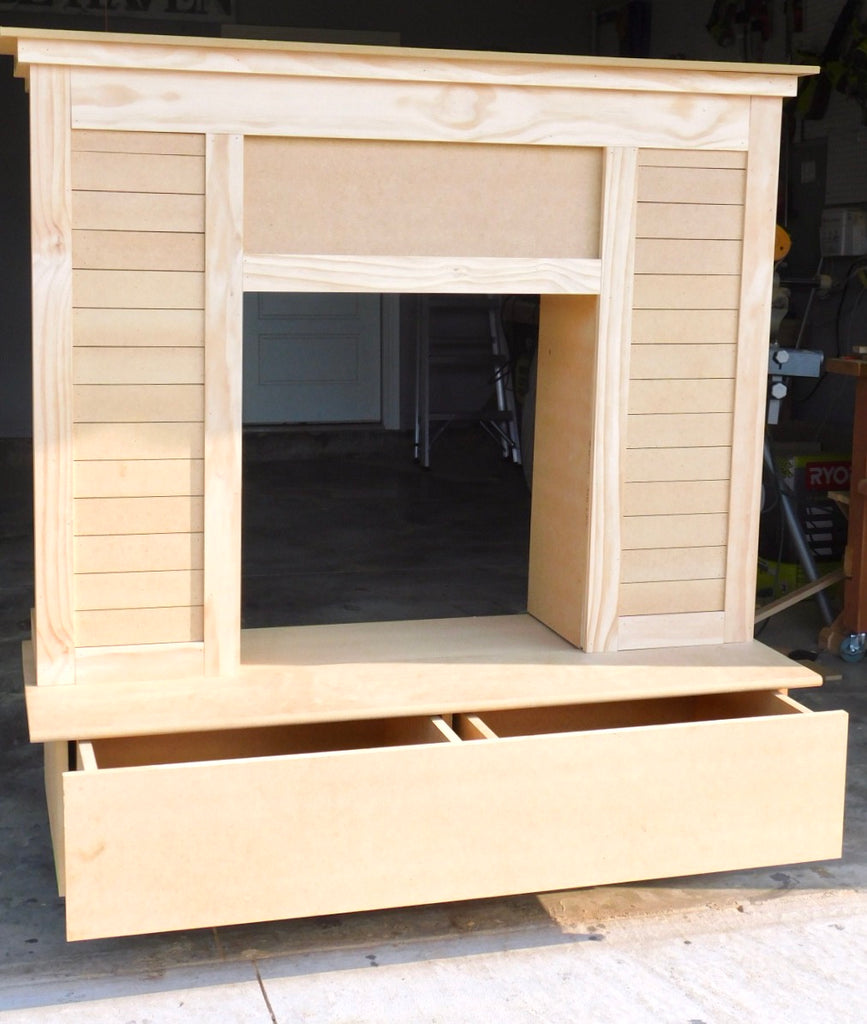
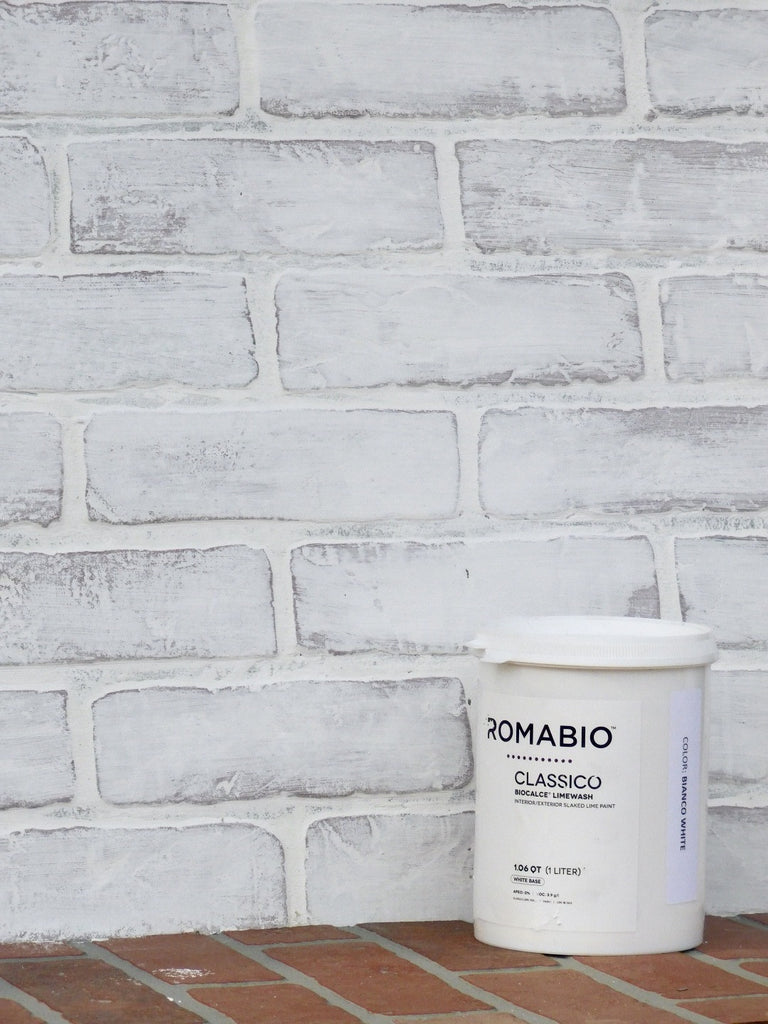
Faux Fireplace with Hidden Storage
A Faux Fireplace with a touch of Shiplap, show me more!
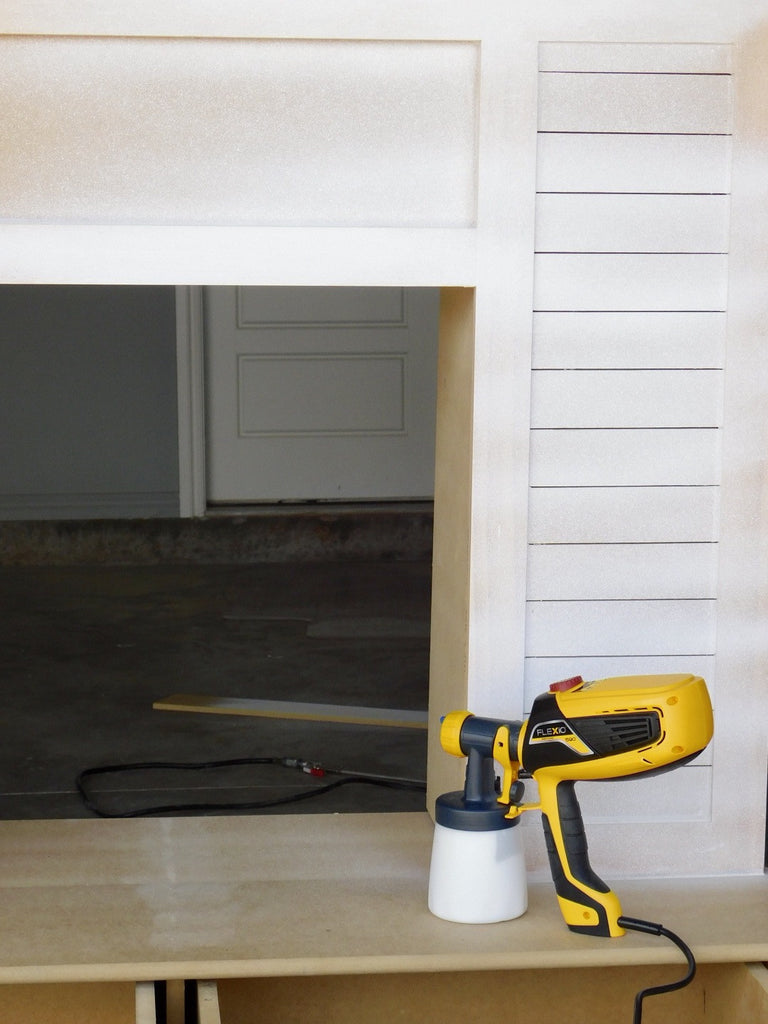
I have always been a fan of a cozy fireplace, so this faux fireplace with storage was a no brainer. My home didn't come equipped with a fireplace so I thought; why not make my own? Luckily, my good friends over at Home Depot helped to make my faux fireplace come to life!
"This post is sponsored by The Home Depot. The Home Depot provided me with product and compensation. The opinions I have shared about the products are my own."
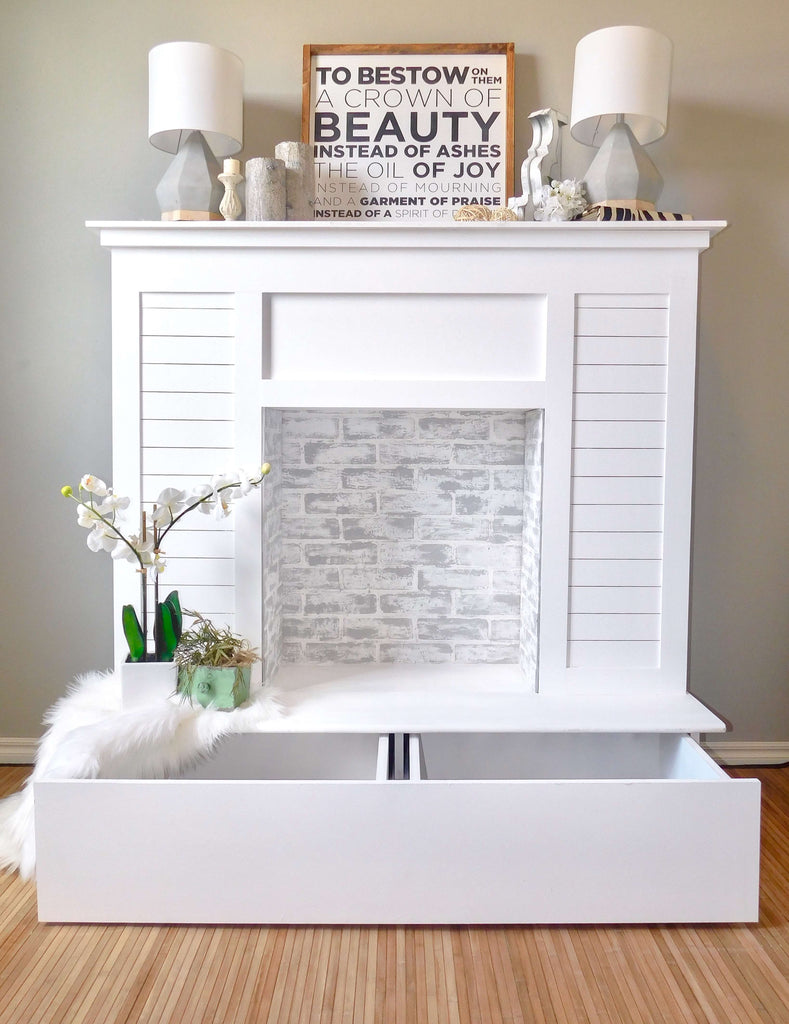


Now head on over to the Home Depot Blog to check out how I created this Faux Fireplace with storage.
Happy Building!