You Don't have to Walk this Journey Alone!
Jumping in to influencing can be pretty intimidating if you have no idea what you're doing, but you don't have to walk the journey alone. Let me walk alongside you and help you in your influencer journey!
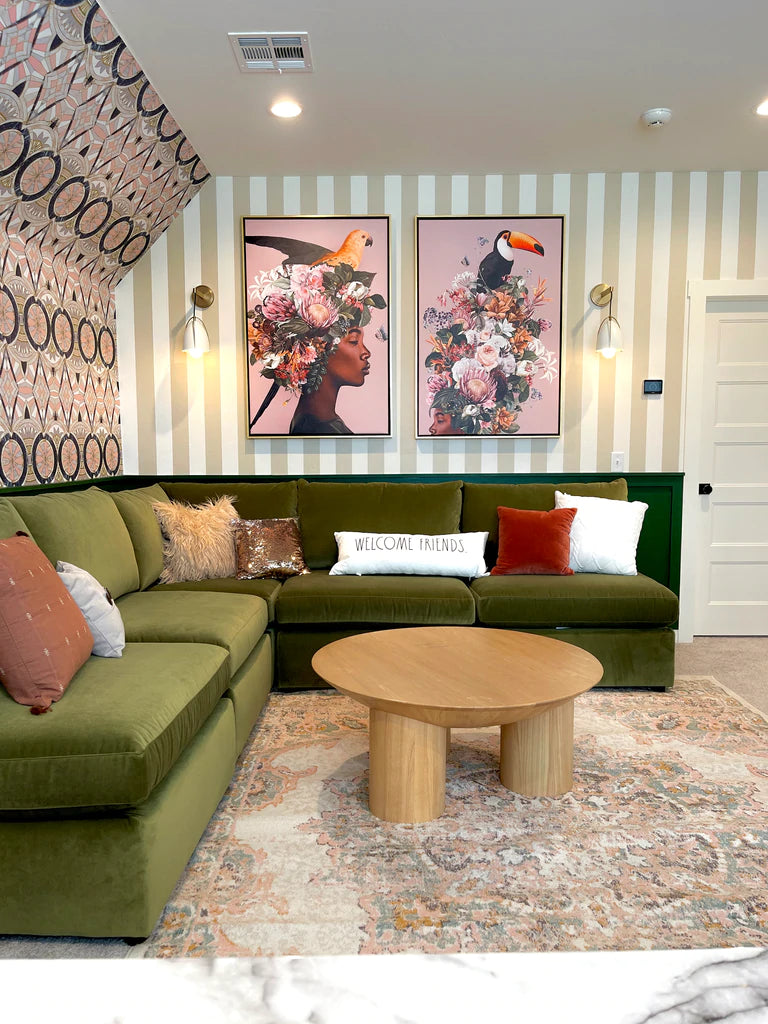
A farmhouse diy coffee table that will change the whole outlook of a living room? Sign me up!

Tools Used:
First, you will assemble the two sides of the coffee table by attaching 2x4 braces to 4x4s. You will assemble the boards together using a Kreg Jig and with pocket Hole Screws to attach along with wood Glue. There should be a 2" spacing from the 2x4 brace and the floor. After finishing this step, you should have two assembled sides for the DIY farmhouse coffee table base.

The top 2x4 should be flush with the 4x4s and the pocket holes on the bottom board should be facing downward and the pocket holes on the top board should be facing upward.
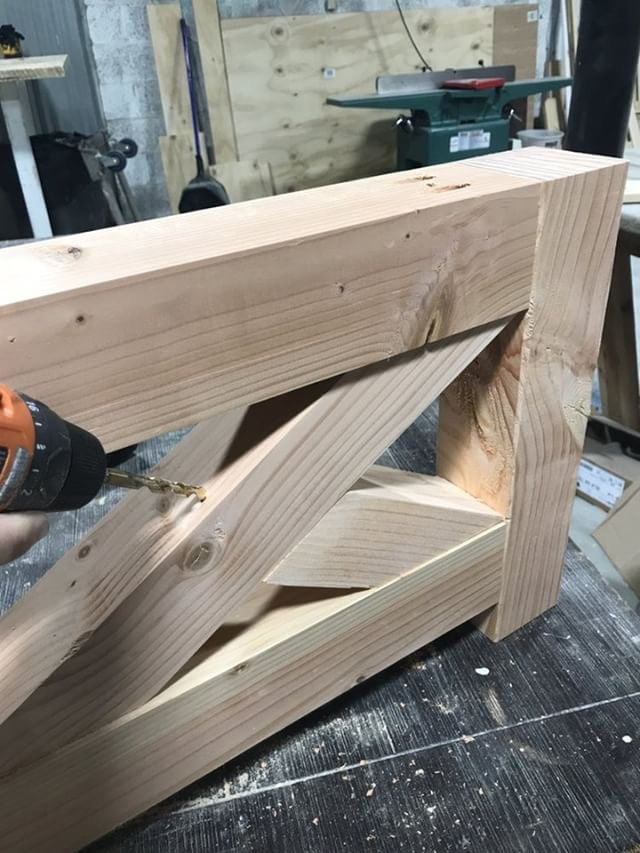
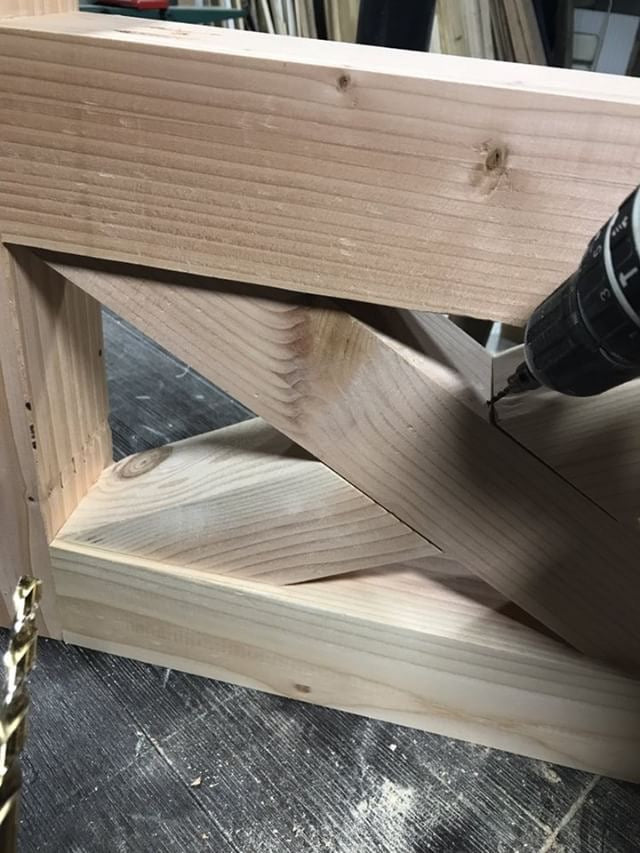
Next, you will attach the decorative x boards to the assembled sides of the coffee table. You will attach the angled 4x4 braces to the assembled coffee table using pilot holes and wood screws. You will repeat this step for the other side of the coffee table base.
For the best fit, before cutting your Xs, measure the boards against your assembled side. (4x4s braces in place of 2x4s shown in picture)

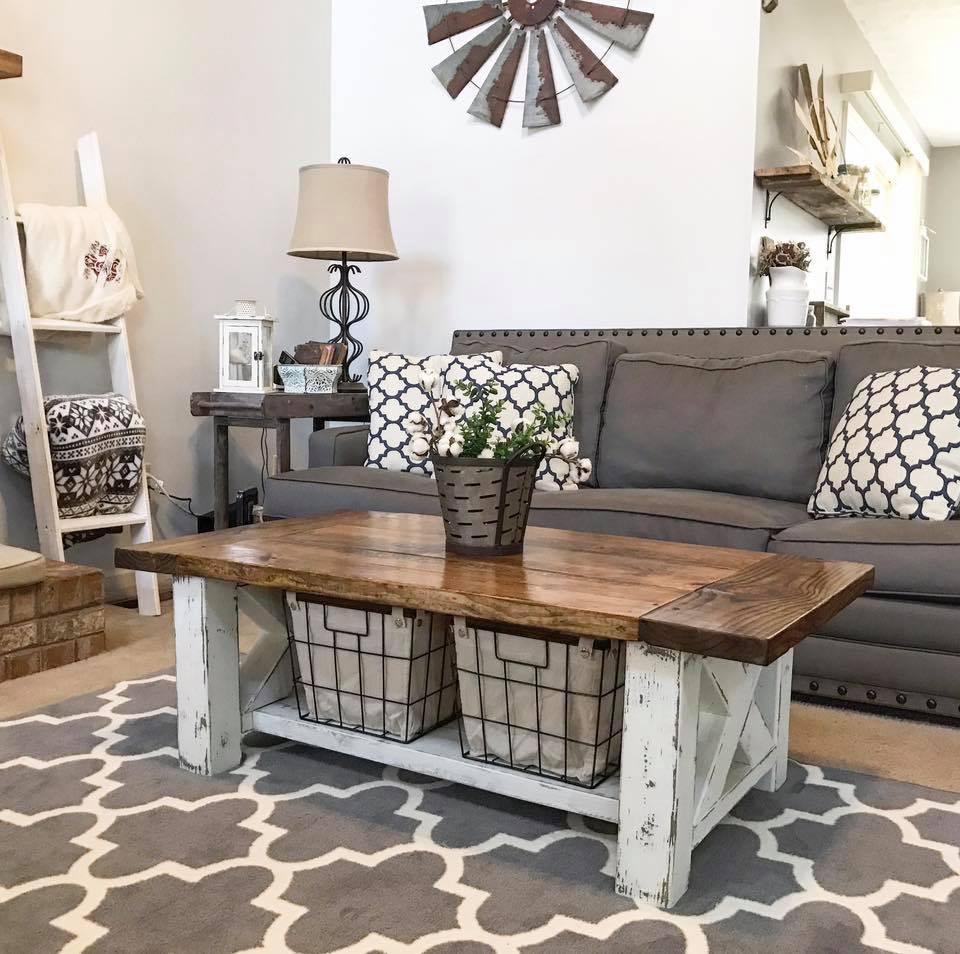
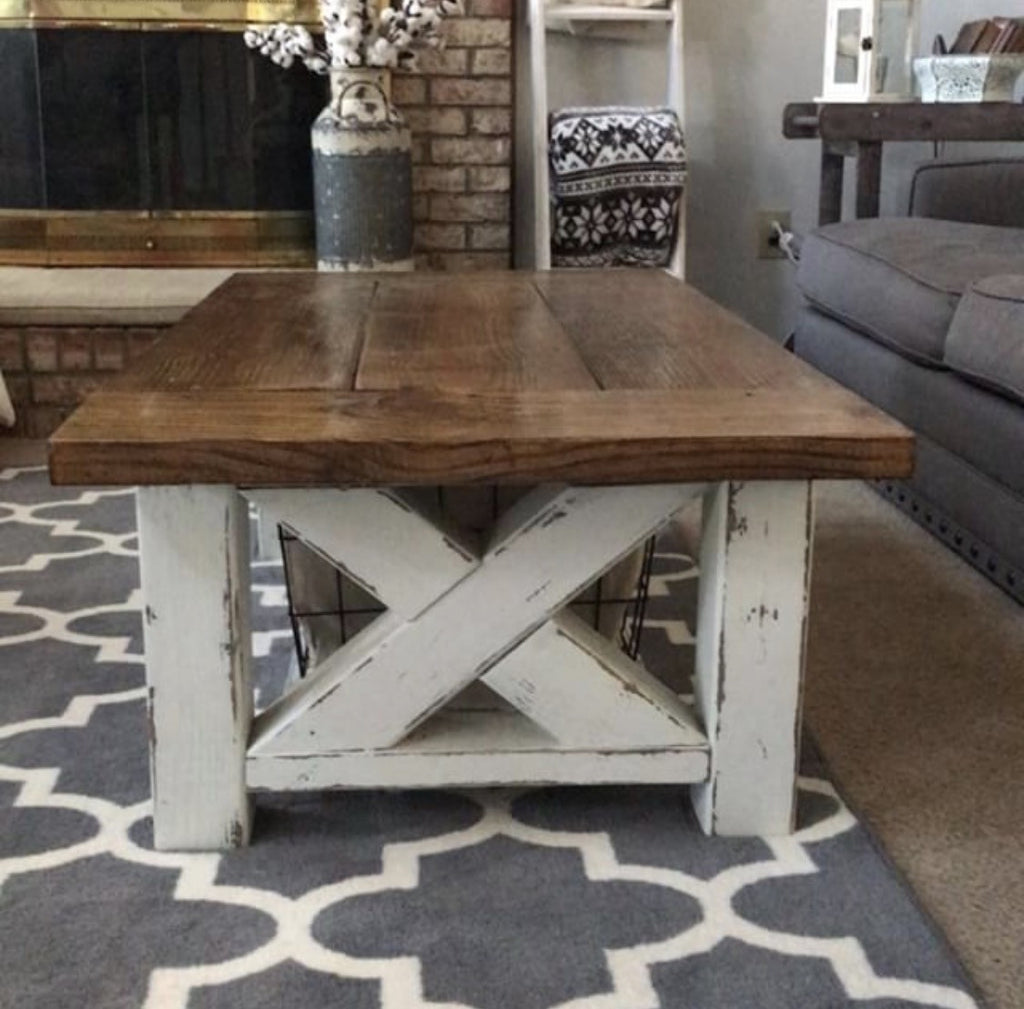
These Xs really make these DIY coffee table legs to die for!

You will complete the X brace by attaching the 2 smaller 4x4 braces to the 4x4s using wood screws along with wood glue. Repeat step for the other side of the DIY farmhouse coffee table base.
Before cutting Xs, measure against your assembled side and mark for best fit/cut. (Note: Pictures shows table using all 4x4s)
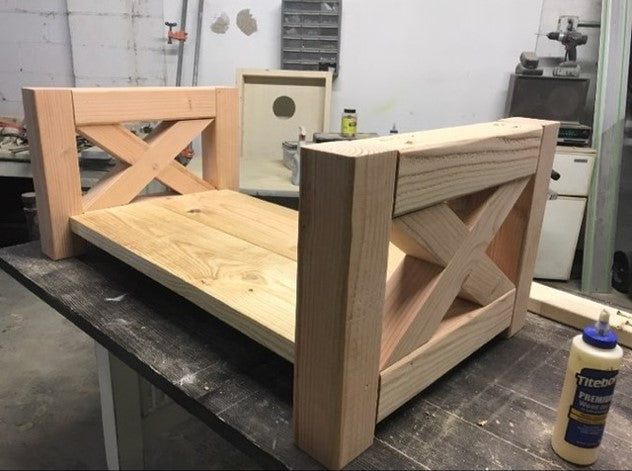
You should now have two finished base sides.

Next, you will begin forming the base by attaching the two sides together. First, you will assemble the bottom shelf by attaching the three 2x8s together using biscuits along with wood glue.

The bottom shelf should be ripped to match the length of the 2x4 stretcher on the table sides. You will then attach the bottom shelf to the bottom 2x4 braces on the two base sides using a Kreg Jig and pocket Hole Screws to attach along with wood glue.
Next, you will attach the top 2x4 brace to the top of the assembled coffee table base using a Kreg Jig. Be sure to place the pocket holes facing upward so that they are hidden by the coffee table tabletop.

Next, you will assemble and attach the table top for your coffee table. To assemble the coffee table top you will attach 2x10s together using a biscuit joiner and biscuits to glue up the table top. You may also use a Kreg Jig K4 Pocket Hole System on a 1 1/2" setting, with 2 1/2" Pocket Hole Screws to attach along with wood glue for extra support.


Next, you will attach the 2x10 bread boards to the assembled 2x10s using wooden dowels to attach along with wood glue.

Once your table top is assembled, you will attach the tabletop to the assembled coffee table base using wood screws and Tabletop Z clips fasteners.


Jumping in to influencing can be pretty intimidating if you have no idea what you're doing, but you don't have to walk the journey alone. Let me walk alongside you and help you in your influencer journey!
Brand pitching strategies that have led me to partner with 30+ Top Brands in the Home Space and experience negotiating contracts.
Developing multiple income streams while organically growing an engaged social media audience across all platforms.
You will fill out a form and once I decide you are a good fit for coaching, I will create a custom coaching plan and outline for our calls. I'll have you take a look, and once you approve, we'll begin your coaching program! Calls will be bi-weekly.
Our calls will consist of co- collaborating on ideas and me teaching you how to monetize and grow your social media. In-between calls, you will be provided with feedback and support.
In-between calls, you will be given action items to work on throughout the week. These are actionable steps you can implement to help grow your social media. Say hello to your new accountability partner!